There are plenty of reasons why it’s better to protect your real IP by using a VPN with Xbox Live.
First, there are unscrupulous players that use DDOS attacks in games like Call of Duty to retaliate and get their rivals temporarily disconnected from online play.
Second, you’ll be able to take advantage of services available outside your country, such as the U.S. version of Netflix if you live in Canada, for example. Lastly, since games are released in different time zones or on different dates in other countries, you may be able to access new games sooner than your neighbors.
Unlike the PS5, you cannot set up a VPN server directly in Xbox system software. Instead you’ll need to share your computer’s VPN with your Xbox or centralize your VPN tunnel with a router so your home computer, devices, and Xbox all pass through it.
Whether you have an Xbox Series X/S, Xbox One, or Xbox 360, the process is the same. That being said, let’s get to the nuts and bolts of hiding your IP address on Xbox.

First Method: Connecting to a VPN Through a Router
If you’re permitted to make changes to your entire home network, this is a straightforward way to change your IP.
Note that you’ll need a VPN to complete this tutorial. If you don’t have one, go to LetMeBy’s top-rated VPNs.
Step 1
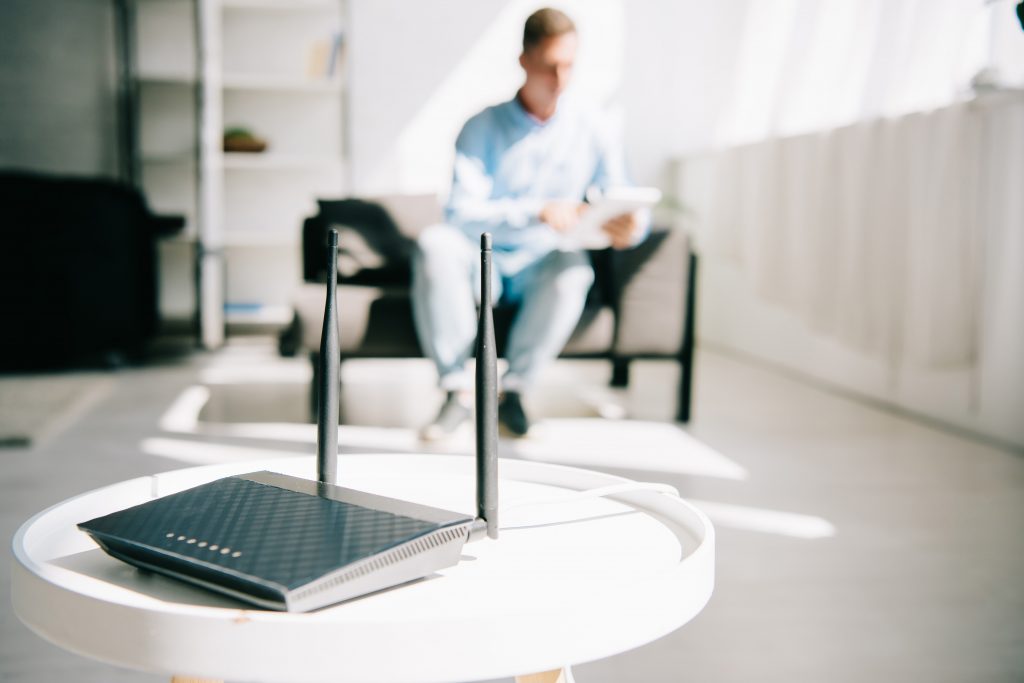
You’ll need to use an Ethernet cable to connect your modem to your router using the WAN port.
Step 2
Next, open the router’s control panel. This is usually accessible via a Web browser. Enter the IP address associated with your router in the address bar of the browser. If you don’t know how to find the right IP, follow this tutorial for Windows.
The next steps will vary depending on the manufacturer/model of your router and the VPN company.
Step 3
Click on the ‘Basic Setup’ / ‘Network’ / ‘Basic’ tab in your router control panel or wherever you can find the options relating to WAN configuration or Internet connection.
Step 4
Enter the information provided by the VPN provider (username, password, gateway, subnet mask, etc.).
Step 5
Choose the protocol recommended by the VPN provider to work with their services (ex. PPTP w/ DD-WRT, OpenVPN w/ DD-WRT).
Step 6
Adjust the DCHP settings depending on the requirements of the VPN service.
Step 7
Click ‘Save’ / ‘Apply Settings’ / ‘Connect’ and you’re finished!

Second Method: Using a PC for VPN Setup
Another option is to use your Windows-based PC to share the VPN connection with your Xbox. This is divided into two parts: 1) Windows settings and 2) Xbox settings.
Windows Settings: Setting up the VPN
Step 1
In Windows, go to ‘Control Panel’ > ‘Network and Sharing Center’
Step 2
After you click on ‘Setup a New Connection or Network,’ a wizard will appear in a new window.
Step 3
Select ‘Connect to a Workplace’ then click ‘Next.’
Step 4
When the wizard asks you how you’d like to connect, choose ‘Use my Internet Connection (VPN).’
Step 5
Enter the Internet Address and Destination Name given to you by the VPN provider. After you’ve finished filling in the details, click on ‘Next.’
Step 6
Finally, enter the Username and Password provided by the VPN service and click ‘Connect’.
Now that you’ve completed the settings on the PC side, you’re ready to fire up your Xbox Series X/S, Xbox One, or 360 and proceed with the next part.

Xbox Settings: Connecting to the VPN
Step 1
Press the ‘Xbox’ or ‘LIVE’ button on your Xbox controller.
Step 2
Go to the ‘Settings’ tab and choose ‘System Settings.’
Step 3
Now that you’re in the ‘System Settings’ menu, you can select ‘Network Settings.’
Step 4
Xbox Series X/S, Xbox One, or 360 will now automatically detect the Wi-Fi connections that are available. Choose the appropriate network from the list.
Step 5
Now, enter the WPA key. It can be found printed on sticker on the underside of your router.
Step 6
Finally, the Xbox system software will prompt you to ‘Test Connection.’ Do this to ensure you’re ready to use the VPN with your favorite games!
Recommended services:


