There are numerous benefits to using a VPN to change the IP on your Playstation.
You can do it to access Netflix movies available in a country outside your own, reduce lag when gaming online, access games available in different countries, or protect yourself from DDOS attacks.
An easy, effective way to hide your IP address is to use the Internet Connection functions built right into your console’s operating system.
It’s done in a pretty similar fashion on PS4 and PS5, although it has been streamlined on the PS5. Instructions for both are provided separately below.

Hide your IP on PS5:
Step 1
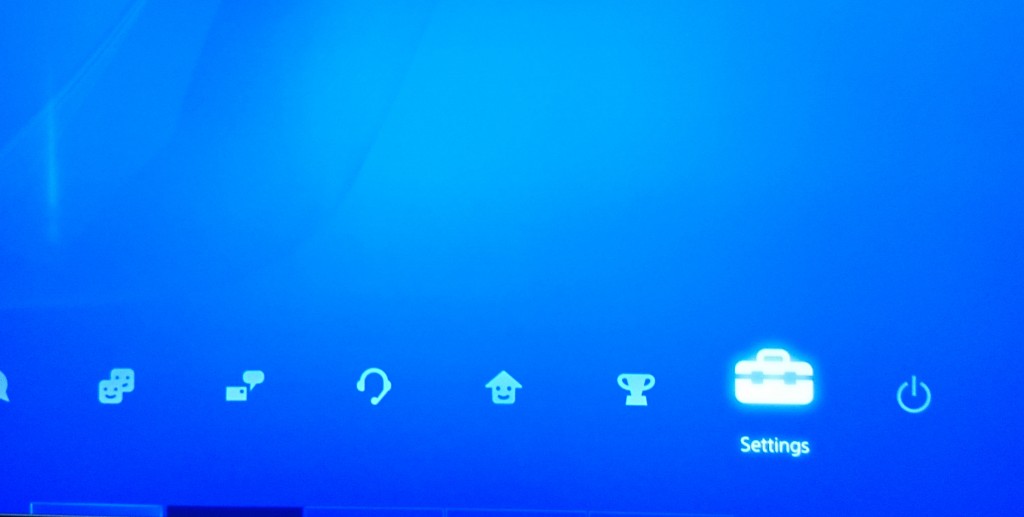
From your PS5’s main menu, go to ‘Settings.’ Look for the icon looks like a cog.
Step 2
Select ‘Network,’ choose ‘Settings,’ then go to ‘Set up Internet Connection.’
Step 3
Choose your existing internet connection. If you haven’t set up your home network, proceed with that now.
Step 4
Select ‘Advanced Settings,’ then go to ‘DNS Settings.’ Finally, choose ‘Manual.’
Step 5
Enter the primary and secondary DNS provided to you by your VPN service provider.
That’s it!
Note that you need a VPN to complete the final step and successfully hide your IP. LetMeBy’s top-rated VPNs are listed below.
Recommended services:

Hide your IP on PS4:
Step 1
From the main menu in XMB, go to ‘Settings.’
Step 2
Move down through the options and select ‘Network.’
Step 3
From the Network screen, select the first option, ‘Connect to the Internet.’
Step 4
XMB will now ask if you’re using a Wi-Fi or LAN connection to access the Internet with your PS4. Select whichever one is appropriate for your situation.
Step 5
XMB will ask how you want to set up your Internet connection. Choose ‘Custom.’
Step 6 (Wi-Fi only)
If you’re using a Wi-Fi connection you’ll have to select the name of the network from the next menu.
Once that is done, enter the password for that network.
Step 7
It will ask for your DHCP Host Name. Select ‘Do Not Specify.’
Step 8
For DNS Settings, choose ‘Automatic.’
Step 9
For your MTU Settings, do the same and select ‘Automatic.’
Step 10
Now we’ve reached the important part! For the Proxy Server, choose ‘Use.’
Step 11
Enter the IP Address of your VPN server as well as the Port Number below that.
If you don’t have one or know what this is, go to LetMeBy’s top-rated VPNs.
Step 12
Now that you’ve entered the specific info for your VPN, XMB ask you to save your setting on the next screen.
Next, you’ll be prompted to test your Internet connection. Now you’ll be certain if the VPN is up and working properly.
And that’s a wrap!
